A Quick Craft - "Giftable Notecards"
Most of us also take such beautiful pictures of scenery - from a pretty flower in backyard, to a beach that gave us a wonderful week of relaxation. These pictures usually lack people, and thus don't find themselves in a frame, but left behind in our myriads of digital files.
This project puts those photos to good use, and puts a smile on the face of those who give to us.
To get started, you'll need a few materials:

First pieces of card stock and a paper trimmer. For a more formal look, use only white card stock, and for casual cards, vary the colors according to the colors or season of your photographs.
The paper trimmer pictured here is a Fiskars, and can be purchased at any craft or scrapbooking store.

You will also need a can of 3M Spray Mount, (found at an office supply or craft store) which will adhere your photos to the card stock, but allow you to move them around if you are satisfied with your first attempt (KEY for a sleep deprived working mom at the end of the year!). The envelopes came from Staples, and are invitation envelopes. Finally - your photos!
Easy steps to your pretty cards:
1. Trim the card stock to the size of the envelope that you choose. You want the paper to be slightly more narrow than the envelope, and able to fold in half and still fit inside.
2. Trim your photo to fit the card stock. Usually you don't have to trim much from a 4x6 photo, but you want a nice border around your picture. Fold your card stock at this point, to ensure better photo placement.
3. Spray a small amount of adhesive on the back of each corner of the photo, and adhere to the card stock. This is easiest if you set up an assembly line, and spray several photos at once, and make more than one card at a time.
4. Don't forget to choose several different photos, so that each set you make includes a variety of cards:

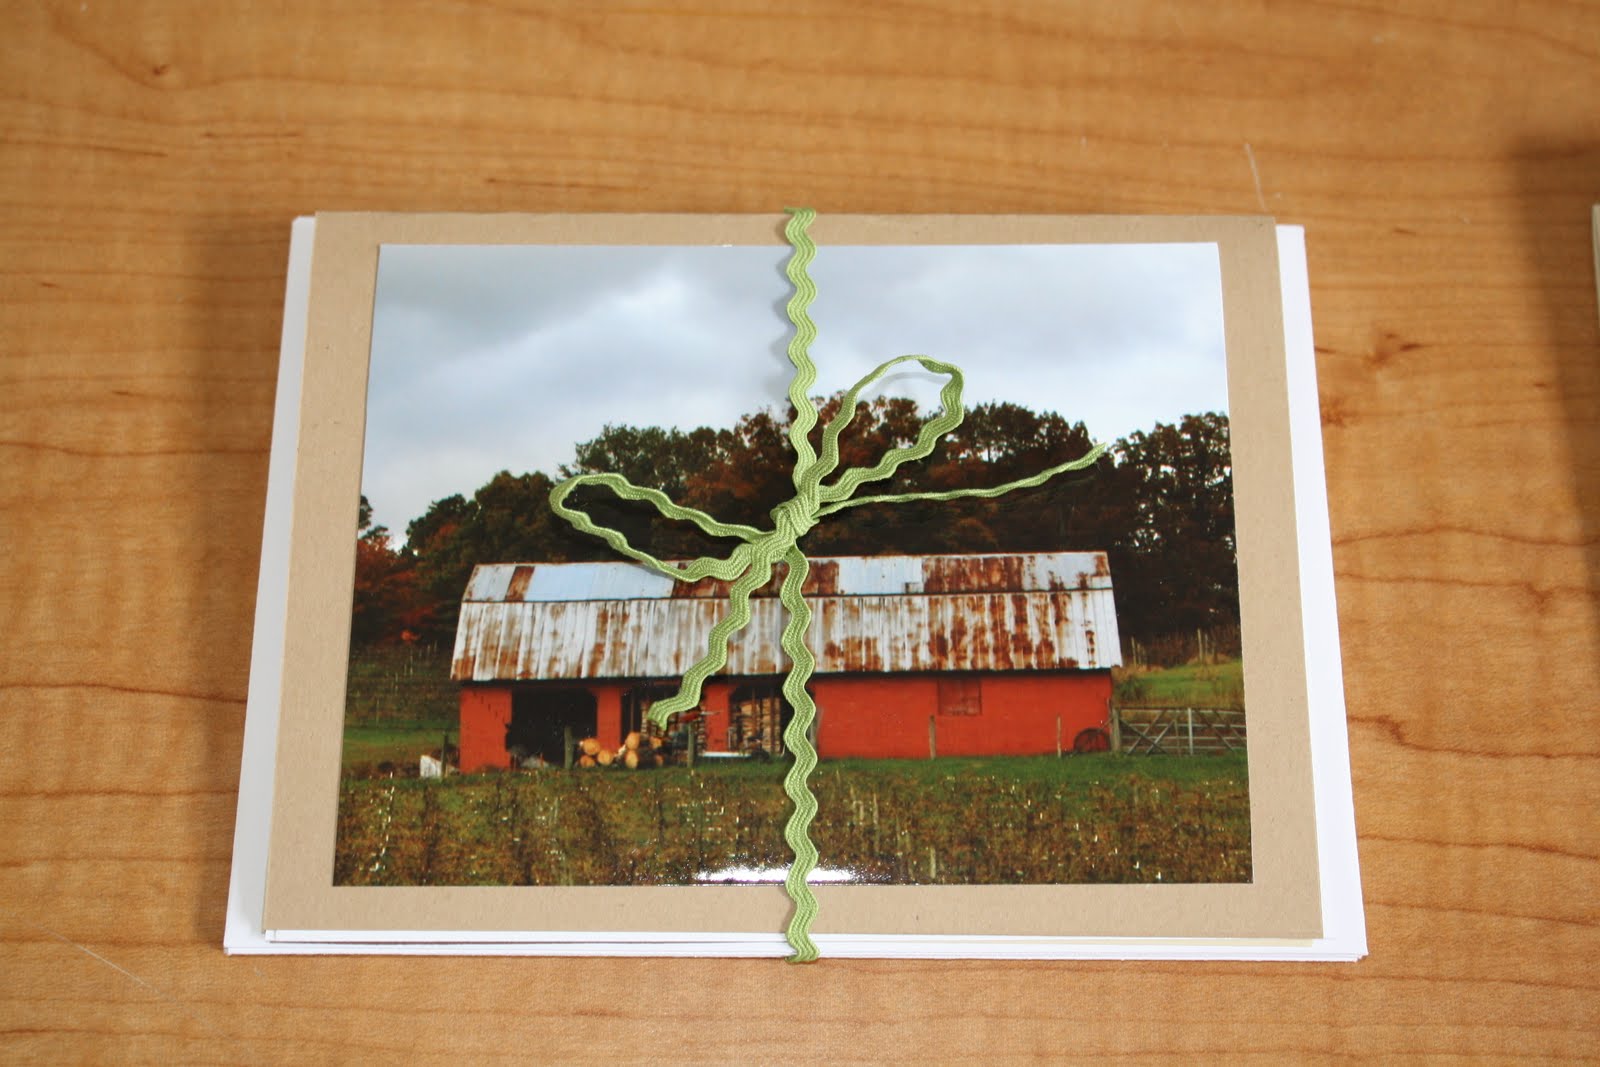
5. Take one of each card and place the appropriate number of envelopes underneath. Then, package with a pretty ribbon, and then gift away!
This project was easily completed in an hour, and was a fun way to show off pretty photographs, while showing gratitude to those who make life easier.
Labels: Crafts, Photography
posted by Katie @ 5:14 PM
3 Comments
![]()
![]()


3 Comments:
Great idea - love the photos too. I'll have to add this to my never-ending want-to-do list :)
I LOVE this idea!!!
Great idea.
Hi! Stopping by from MBC. Love your blog.
Have a nice day!
Post a Comment
I hope you will leave a comment, helping make Articles From Addington an interactive forum for moms and bloggers. Thanks for taking the time to read my "articles"!
Subscribe to Post Comments [Atom]
<< Home